Source Edition · Piedras Negras to Texas
Loaded Nachos (Nachos El Norte)
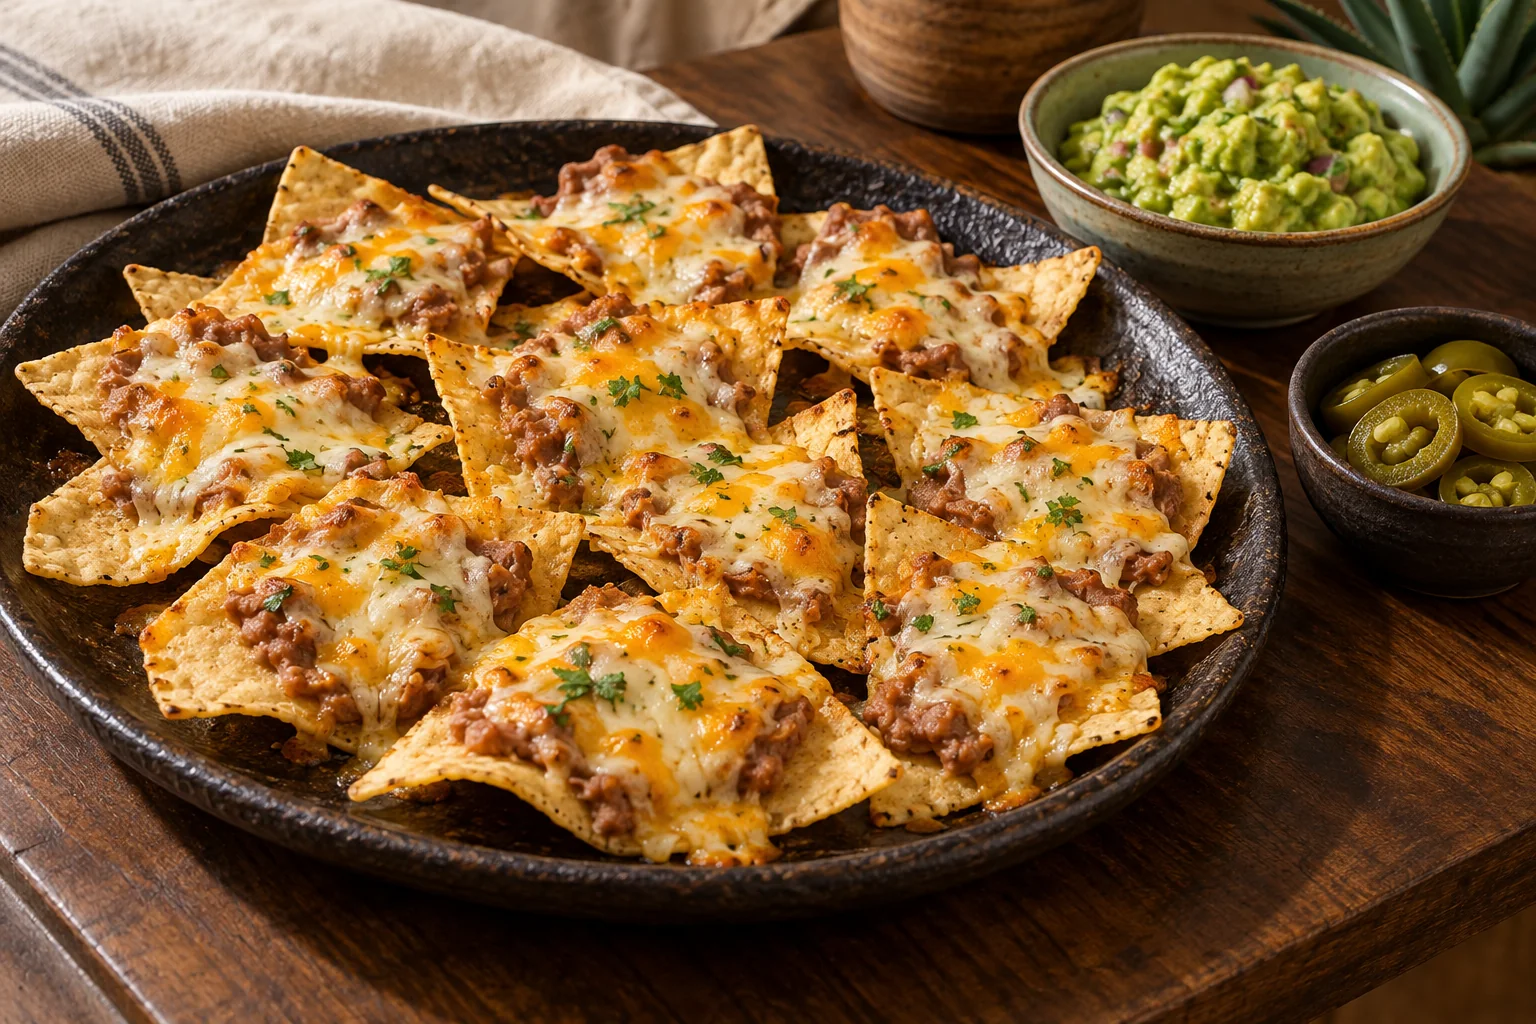
Real melted cheese and warm beans on every crisp corn chip. Put the jalapeños and guacamole alongside, then make it a fajita supper if you like.
Method
- Heat the oven. Set a rack in the center of the oven and heat to 400°F. Choose a large heatproof platter or rimmed sheet pan that will hold the chips in one layer.
- Make the beans spreadable. Warm the refried beans until soft enough to spread. If they are very stiff, stir in 1 tablespoon water at a time; keep them thick, not runny.
- Build one complete bite at a time. Arrange the chips in a single layer. Spread about 1 teaspoon warm beans on each chip, then divide the grated cheese evenly over them. Keep the jalapeños off the chips so each person can choose the heat at the table.
- Bake. Bake for 5 to 7 minutes, until the cheese is fully melted and just beginning to bubble. Rotate the pan once if your oven heats unevenly, and watch the chip edges closely during the final minute.
- Serve immediately. Bring the nachos to the table while the cheese is hot and the chips are crisp. Put the jalapeños and optional guacamole, pico de gallo, and escabeche in separate bowls alongside.
Before you start
Choose sturdy chips. Thin chips can soften or crack under the beans. Look for thick corn chips with broad surfaces and few broken pieces.
Prepare everything before assembly. Warm beans spread without breaking the chips, and freshly grated cheese melts more evenly. Drain pickled jalapeños before putting them in their own bowl.
Rescue and common mistakes
If the chips soften before serving, the beans were probably too loose or the toppings sat too long before baking. Keep the beans thick, assemble only after the oven is hot, and serve directly from the baking platter. If the cheese is slow to melt, grate it more finely and avoid pre-shredded cheese with a heavy powdery coating.
Make-ahead and leftovers
Grate the cheese and prepare the side bowls in advance, but warm the beans and assemble only when the oven is ready. Finished nachos are best immediately. If needed, reheat the bean-and-cheese chips uncovered at 375°F for 4 to 6 minutes; expect a little less crispness. Keep guacamole, jalapeños, pico de gallo, and escabeche separate. If using fajita meat, chill and reheat it separately according to the linked recipe before serving.
Choose your nachos
One base, three ways to serve it
Bean & cheese: Make the recipe above and pass sliced jalapeños and guacamole separately. Each person sets the heat and adds the cool topping only when ready to eat.
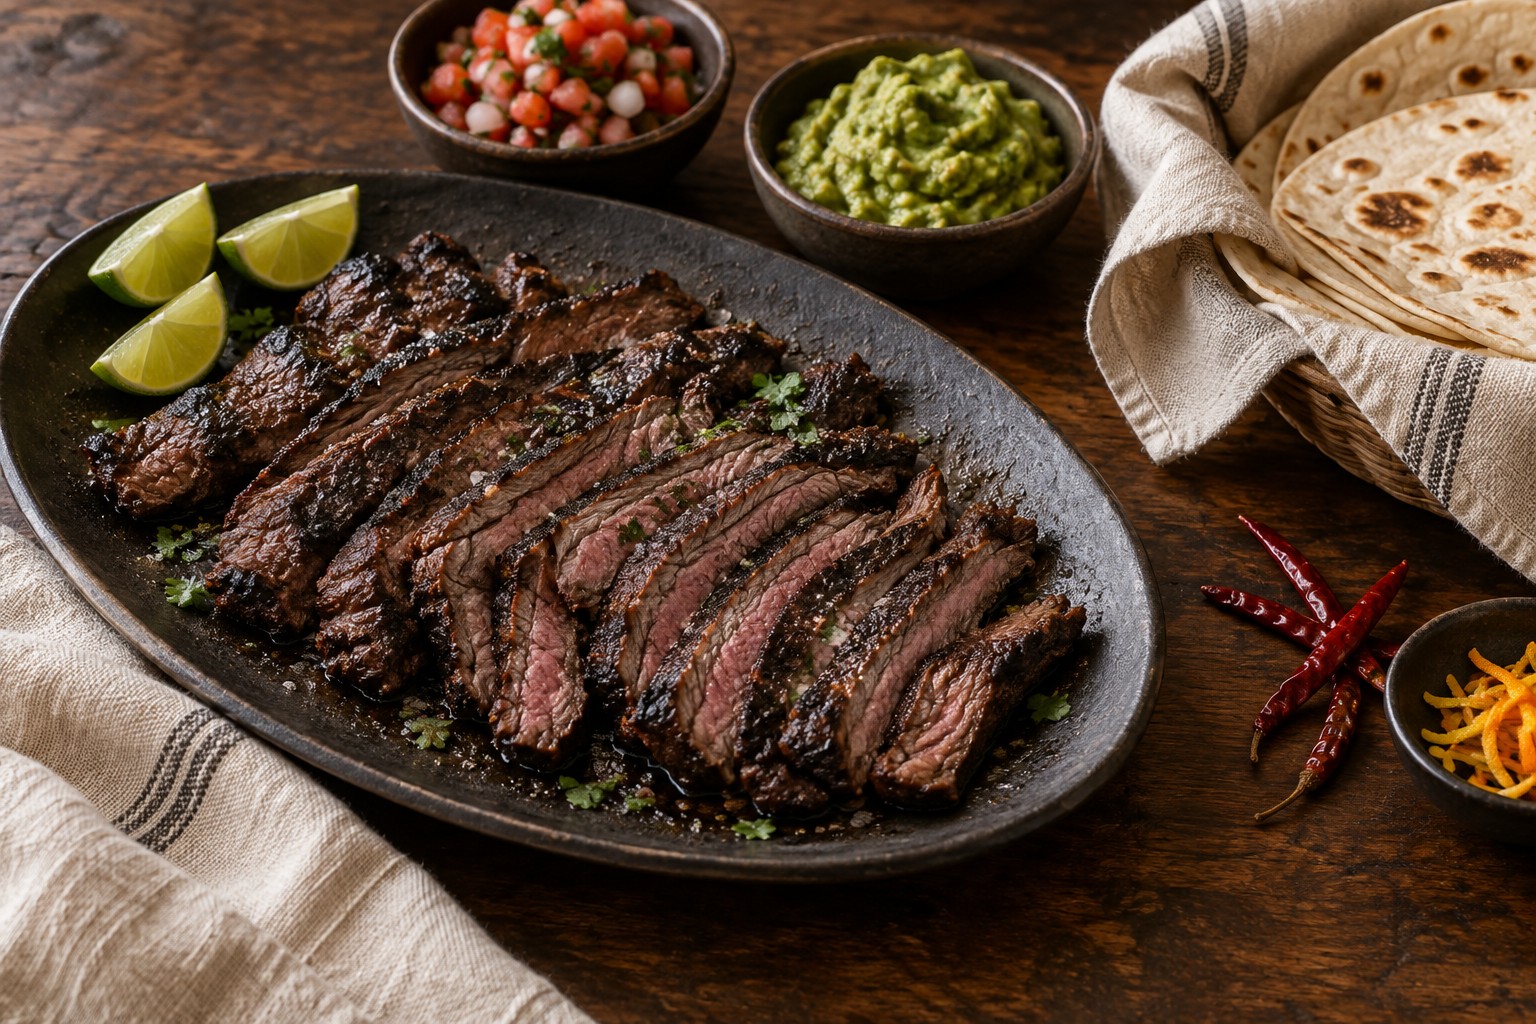
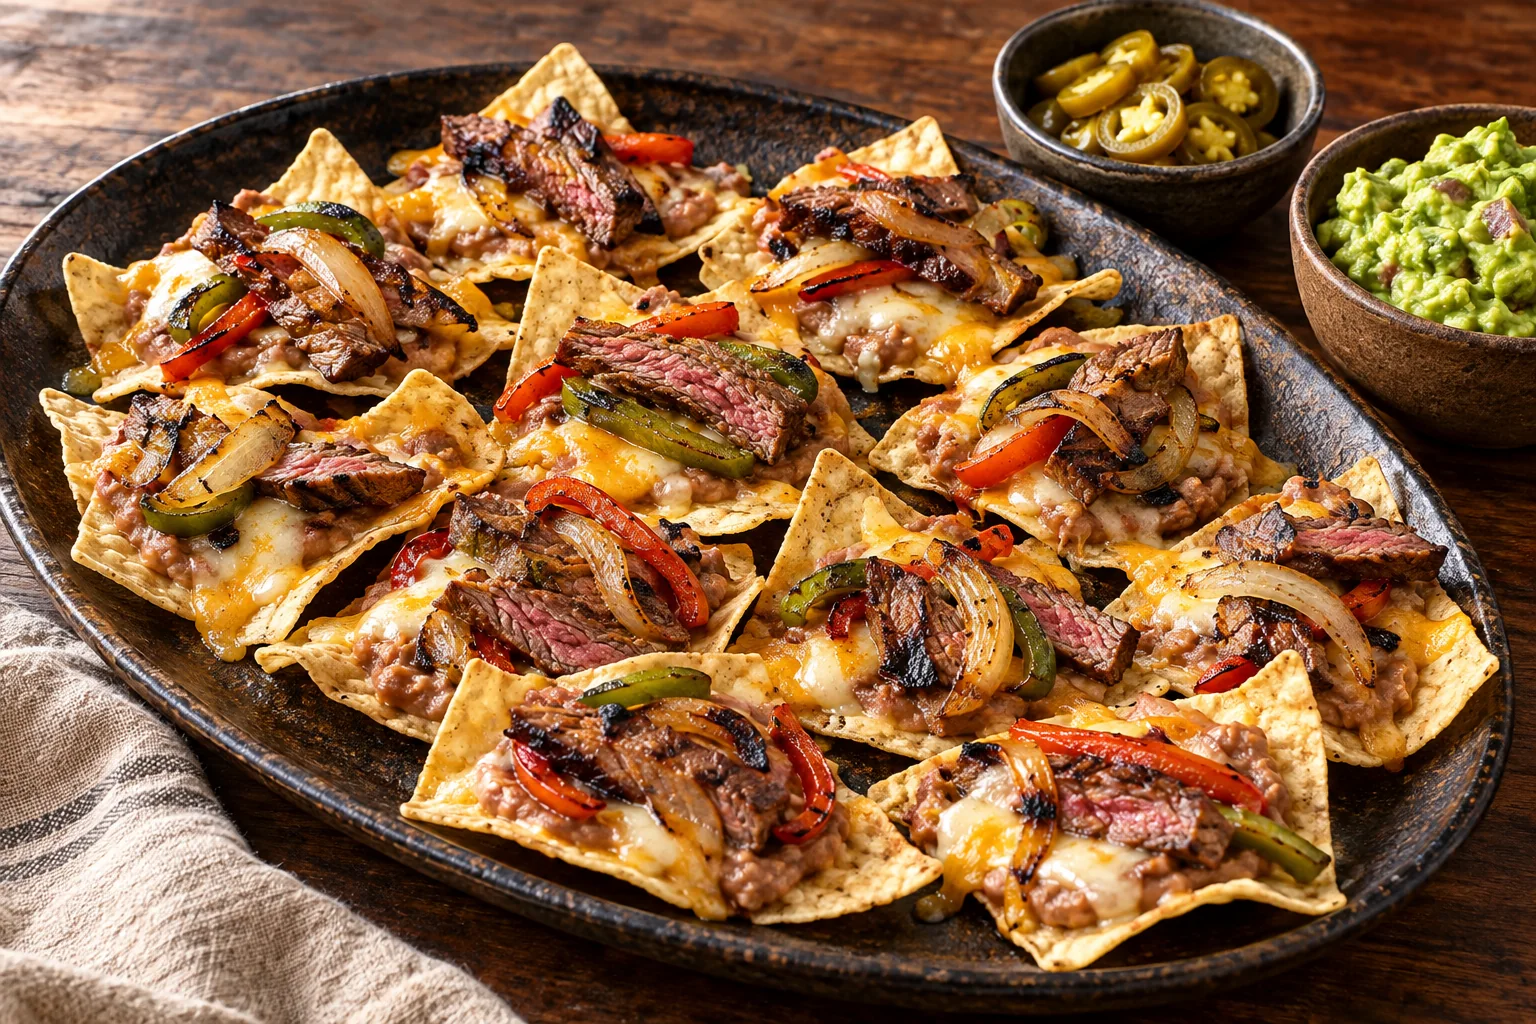
Fajita loaded: For the full batch, prepare about 10 to 12 ounces of already cooked skirt-steak fajitas, sliced thinly across the grain, and about 1 cup cooked onions and peppers. Our lime-molasses fajitas recipe includes steak, peppers, and onions and is one possible starting point. Warm the cooked filling separately and add small portions to the cheesy chips immediately after baking; keep the jalapeños and guacamole in side bowls.
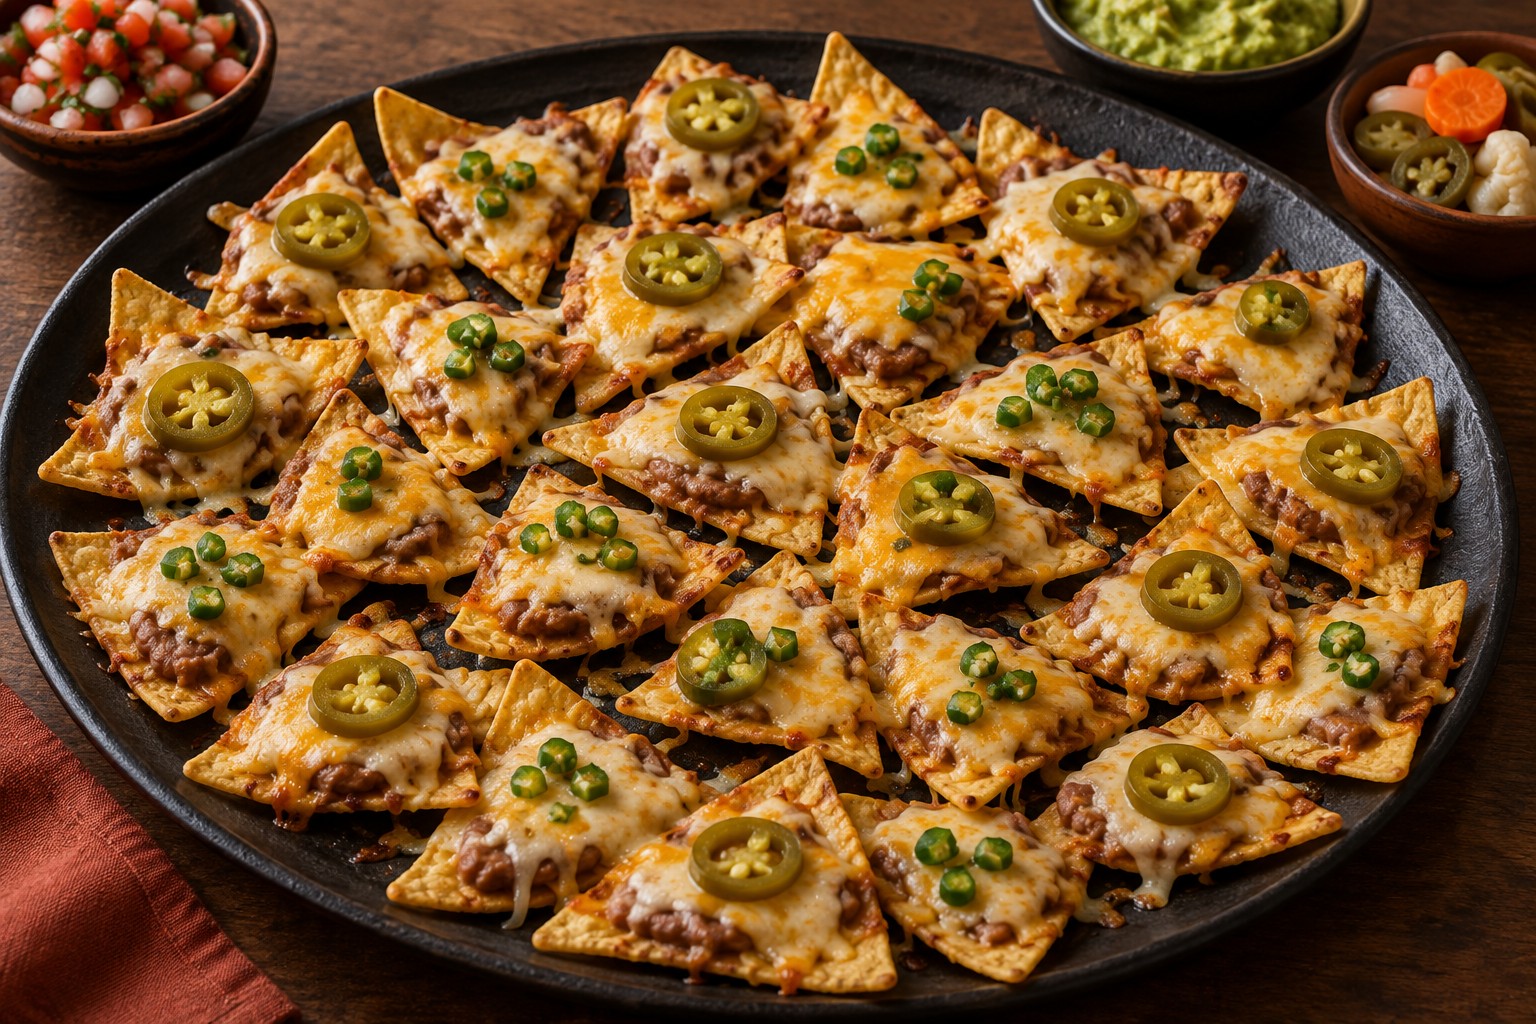
Source-style chile on every chip: If everyone wants the same heat, add a drained jalapeño slice to each chip before baking. That is closer to the individually composed Nachos El Norte source; the heat-on-the-side service above is our editorial adaptation, also reflected in the owner-supplied Brown’s Nachos scan.
Chile on each chip
Add the fajitas
Understand it
Why composed nachos stay crisp
A thin layer of thick beans gives each chip a substantial bite without flooding it. Melted cheese holds the beans in place, while a single layer lets oven heat reach every chip. Putting jalapeños, guacamole, and other moist additions alongside lets people choose their heat and preserves the crisp-corn contrast.
Know it
A border dish with a traceable beginning
Nachos are widely traced to Ignacio “Nacho” Anaya at the Victory Club in Piedras Negras, Coahuila, in 1943. The early form was strikingly direct: fried tortilla pieces, melted cheese, and jalapeño. The bean-topped Nachos El Norte published by Cheryl Alters Jamison and Bill Jamison is a later, more substantial border variation—not the same thing as the pourable-cheese stadium nachos that spread nationally in the 1970s. A separate owner-supplied “Brown’s Nachos” scan also describes jalapeños at the side and guacamole as a variation; it does not establish the origin of Nachos El Norte or the fajita topping.
About this edition
These nachos are built as individual bites rather than a towering pile. The core bean-and-cheese formula is adapted from the Jamisons’ Nachos El Norte. Moving the jalapeños to the side draws on the owner-supplied Brown’s Nachos scan and gives every diner control of the heat. Fajita steak is our separate optional serving idea, not a claim about either source recipe. This Source Edition and its added variations have not been tested in The Border Table kitchen.
Sources
Where this edition comes from
- Cheryl Alters Jamison and Bill Jamison, The Border Cookbook: Authentic Home Cooking of the American Southwest and Northern Mexico (Harvard Common Press, 1995), p. 144, “Nachos El Norte.” Owner-supplied scan reviewed September 21, 2026; basis for the bean-and-cheese formula.
- Owner-supplied scan, “Brown’s Nachos,” p. 199, reviewed October 6, 2026. It describes sliced jalapeños served alongside and a guacamole variation; publication details have not been supplied, so this page does not rely on its restaurant-history claims.
- WorldCat: The Border Cookbook — authorship, publisher, date, and scope.
- Smithsonian Magazine: The History of Baseball Stadium Nachos — the Piedras Negras paper trail and the later stadium-cheese development.
- Oxford Encyclopedia of Food and Drink in America: Nachos — culinary reference context for Ignacio Anaya and the dish’s spread.
Keep exploring
These bean-and-cheese nachos are built as individual bites, with jalapeños and guacamole available at the side. The optional fajita topping is a later serving choice.
See how assembly changes texture · Cook the optional fajitas